Article Excerpt
Texturing a wall or ceiling gives your home some personality and may also dampen sound. Learn more about DIY texturing.
You can hire a professional to texture drywall, but for many homeowners, DIY wall and ceiling textures are within reach. Read on to learn more about how to apply different textures, as well as thoughts on whether it might be better to let a pro handle it.
» READ MORE: How to Choose a Texture for Your Home
The Cost of DIY vs Hiring a Pro
The usual perception of DIY’s advantages over hiring a professional is that you can save money. All you have to pay for are the materials and tools, right? Well, not quite.
You also have to devote the time to do the work if you’re DIYing it. Depending on the size of the walls and ceilings, it could take a while. This might not be a problem if you already know what you’re doing. If you’ve never textured a wall before, assume it will take longer for you to do it than a professional would need.

You should also factor in the possibility that you’ll make a serious mistake. Minor mistakes are usually a given in first-time DIY jobs, but you might make a mistake that requires you to remove what you’ve already applied to the wall and start over. That will cost you both money and time.
The idea of DIY wall texturing might appeal to you, even (or especially) if you’re learning how to do it right now. If so, we wish you well. If the rest of this article makes you even the slightest bit nervous, though, the cost of hiring a professional might be worth it. It’ll cost you money, but it will most likely save you both time and emotional energy.
Types of Drywall Texture
The following offers an overview of how to apply different drywall textures. In all cases, you should let the finished texture dry for at least a day before you prime and paint the walls or ceilings.
Comb Texture
To create lines and patterns on your walls and ceilings, you’ll need the following:
Drywall compound
Roller
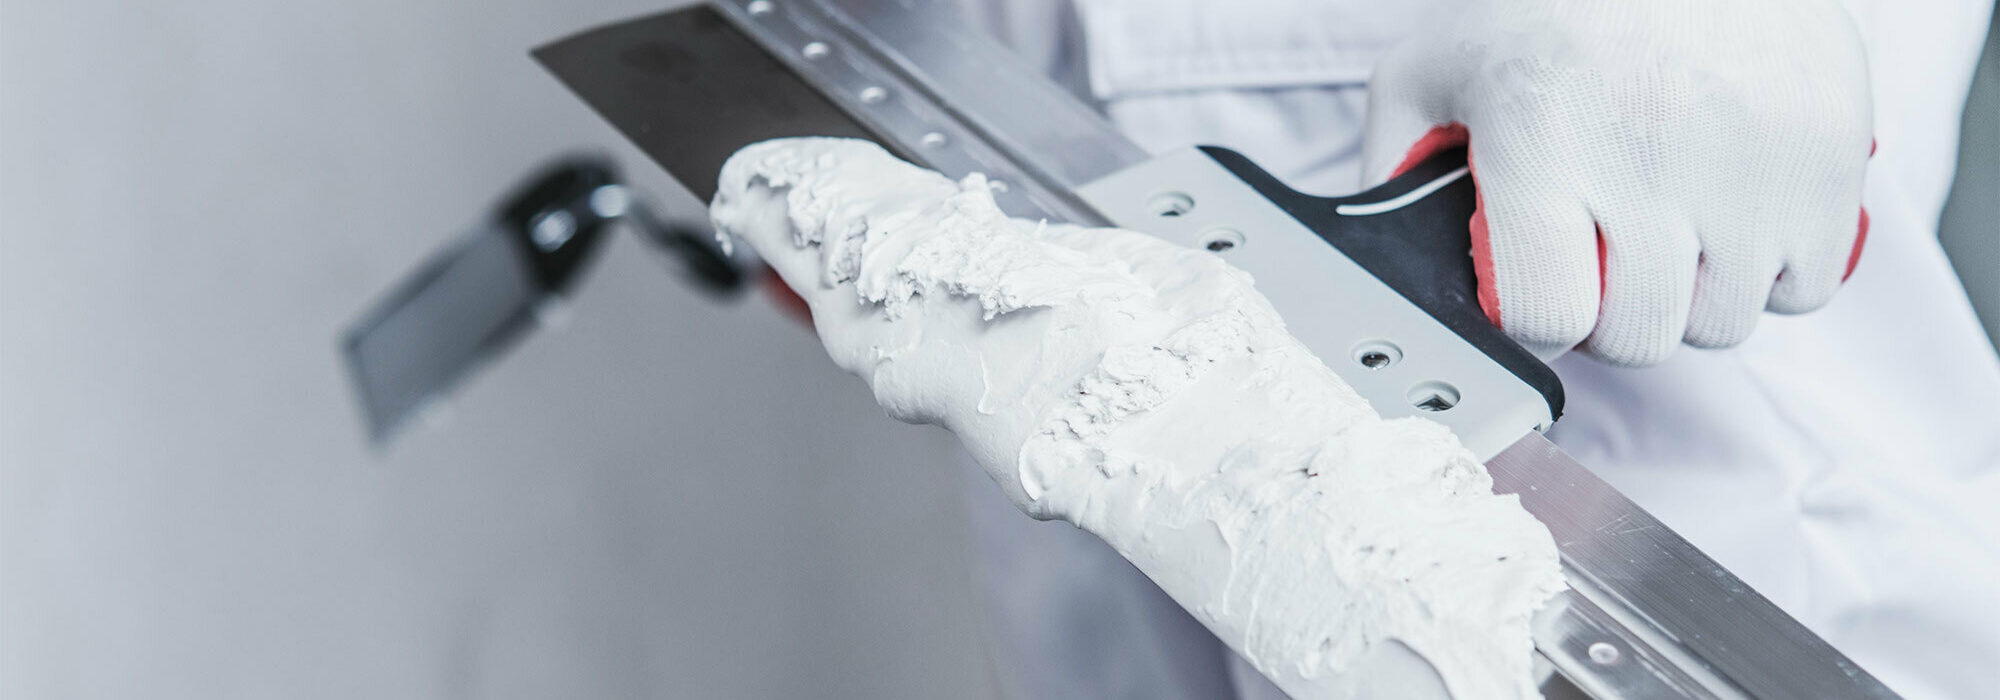
Drywall trowel
The type of drywall trowel you use will determine how the texture will look. A trowel with evenly-spaced teeth will produce clean, organized patterns. If it has uneven teeth, you will get some unusual patterns, which might be what you want.
Mix the drywall compound with water according to the instructions, then spread it on the wall with the roller. Use the trowel — gently — to create patterns in the compound. You might want to practice on spare pieces of drywall before you create your masterpiece. You can do all of this on sections of the wall so that the first areas you cover with drywall compound don’t dry before you get to them with the trowel.
Orange Peel Texture
For this bumpy texture, so named because of its similarities to an orange peel, you’ll need:
Primer
Hopper gun with an air-adjustable valve
Air compressor
Drywall compound
If you don’t want to invest fully in a hopper gun and air compressor, you should be able to rent them from a hardware store in your area.
Begin by priming the walls. While you’re waiting for the primer to dry, mix the drywall compound with enough water to make it resemble a slightly runny pancake batter. Pour this mixture into the hopper gun.
Use some spare drywall to practice spraying the compound. You can adjust the air valve to find the texture that you want. The goal is not to cover the wall in drywall compound, but rather to splatter it over the primer.
Knockdown Texture
This type of texture begins with the orange peel texture described above. In addition to those tools and materials, you’ll need a knockdown knife, preferably at least 18 inches wide.
Start by applying the orange peel texture, as described above, and allow it to dry for about 15 minutes. If it’s a large room, the first area you sprayed might be ready for knockdown as soon as you’ve finished the last part of the room.
Use the knockdown knife to flatten the drywall compound. If the compound isn’t dry enough yet, the edges of the knife will leave visible lines. If you notice this, stop and wait a few more minutes.
Popcorn Texture
This texture is used most often on ceilings, where it can help absorb sounds. While popcorn texture is not as stylish as it once was, you can still find it in many homes. Perhaps your ceiling was damaged in one room and you already have popcorn texture in the rest. Now you just need to repair the damaged room.
You’ll need the following:
Primer
Popcorn texture mix
Hopper gun
Air compressor
Sand Swirl Texture
To create this type of texture, you’ll need:
Perlite primer mixture
Wide paint brush
Practice creating patterns with the paintbrush on some cardboard or extra drywall. When you’re ready, just apply the perlite mixture to the wall with the brush in whatever pattern you want. Your best bet is to keep the pattern fairly simple and limit it to a relatively small area of the wall — a few feet square should work. Then you can repeat that pattern until you’ve covered the entire wall.
Slap Brush Texture
For this unique texture style, you’ll need the following:
Drywall compound
Roller
Slap brush, a/k/a double crows foot drywall texture brush
You’ll begin by following the initial steps for comb texture described above. Instead of making patterns with a trowel, though, you’ll be creating chaos with the slap brush. Apply a small amount of drywall compound to the slap brush, then “slap” the coated section of the wall with it. The goal is not to create a distinct pattern, so feel free to go a bit nuts.
Creative freedom begins with home ownership!
One of the great things about owning your own home is that you can experiment with wall and ceiling textures without fear of losing your deposit! Let the home mortgage professionals at The Wood Group of Fairway help you get closer to achieving that dream. Contact us today to get started on your free pre-approval.


