Article Excerpt
Check out the basic steps to removing entire trees and tree stumps: when to hire a pro, tools, and techniques.
Trees can provide many benefits for your home — shade, visual appeal, a home for cute wild animals, etc. — but they can also be the source of many headaches. You might need to remove a tree from your property.
If a tree has fallen on your property, you might need to remove the remaining stump. It might be possible for you to remove it yourself, but be cautious. Removing a tree or tree stump can be dangerous work.
The following is an overview of how to remove trees and tree stumps yourself, along with guidance on when to leave them to professionals.

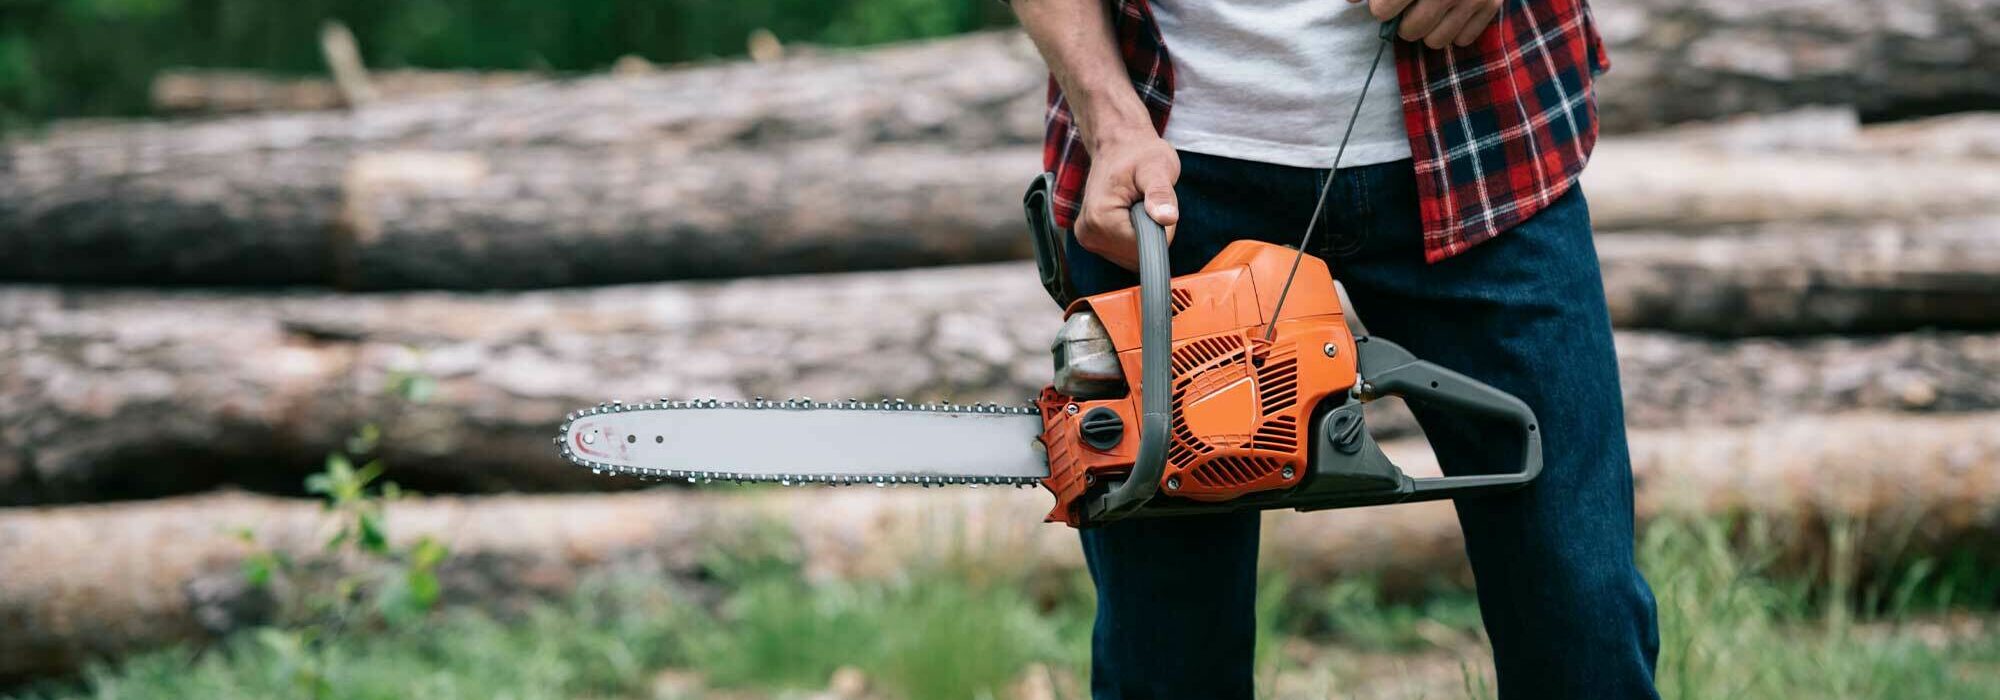
Photo by henry perks on Unsplash
When should I hire a professional to remove a tree or tree stump?
Perhaps the simplest test for deciding whether to hire a professional or DIY your tree/tree stump removal is to consider the size of the job. If you need a ladder to reach the branches of the tree you want to remove, the job is probably best left for the professionals. Consider all of the following factors:
Do I have tools that are heavy-duty enough to cut into the trunk?
Is there a risk that the tree will hit a power line, fence, house, or other structure when it falls?
Can I remove the fallen trunk and branches from the property myself?
If a tree stump is wide enough that you could sit on it somewhat comfortably, that’s also likely to be a job for the pros. Issues to consider may include:
Do I have any idea how deep and far the root system spreads?
Is it possible that part of the roots are near a gas line or other utility line?
Can I haul the stump and roots away myself?
If you decide to hire a professional, do some research. Look for people with a good reputation in the community. Be sure to ask about insurance coverage in the event that they damage your property. Depending on the size and number of trees involved, you could expect to spend a few hundred or several thousand dollars for the job.

Photo by Karolina Grabowska from Pexels
Tree Removal
1. Gather your tools and safety equipment.
You will need an ax or chainsaw. Ideal safety equipment includes:
Helmet
Eye protection
Hearing protection
Gloves
Long-sleeved shirt and long pants
Steel-toed boots

Image by David Mark from Pixabay
2. Clear the area and look for possible obstructions.
Make sure the ground surrounding the tree is clear. Look for anything that the tree could damage when it falls, such as a power line or fence.
3. Determine where you want the tree to fall.
See if the tree naturally leans one way. If possible, you’ll want to cut it so it falls in that direction.
4. Identify two escape routes.
You’ll need to get clear of the tree once it starts falling. Have a second route in case the tree doesn’t fall in the direction you’d planned.
5. Cut at an angle.
Cut downward into the tree at a 60- to 70-degree angle on the side of the tree where you want it to fall. Once you’ve cut about one-fourth of the tree’s width, make a horizontal cut that meets up with the deepest part of the earlier cut. This will remove a portion of the trunk.
6. Cut from the other side.
On the opposite side of the tree, cut horizontally at the same level as your previous horizontal cut. This is known as the “felling cut.”
Don’t cut all the way through. Stop once you’ve cut through a little more than half of the width. Leaving about 10% of the trunk’s width between the two horizontal cuts allows you to control the direction that the tree falls.
7. Follow your escape plan.
The way you cut the tree creates a hinge. The tree will fall in the direction the hinge is facing. Be somewhere else when that happens.
8. Clean up.
If you don’t want a tree trunk laying across your property, start cutting it into smaller pieces to do with as you see fit.

Photo by Elliott Brown from Flickr [Creative Commons]
Tree Stump Removal
Removing a tree stump is generally less dangerous than cutting down a tree, but it can take much longer. You’ll need the same safety gear described above.
1. Water around the base the night before.
This will soften the soil, making it easier to dig. Get started early in the morning so the ground is still damp when you begin the removal process.
2. Measure the trunk width.
For every inch of diameter, you should plan on digging down 6 inches in order to reach the whole root system. If the trunk is two feet in diameter, the roots could extend 12 feet underground. You don‘t need to remove all of the roots, as long as you get the biggest ones.
3. Dig.
Try to expose as much of the root system as you can. You might not be able to dig below the topmost layer of roots at first. A spade or simple trench digger will come in handy.
4. Cut the larger roots.
Use and axe or chainsaw to cut the larger roots, then continue digging.
5. Lift the stump.
Eventually, you should be able to lift the stump, or at least tilt it so you can cut the roots that extend directly downward. A solid metal bar can be used as a fulcrum. You can pull the stump out of the ground once you have cut all of the roots.
6. Fill the hole.
Fill the hole with dirt. Cover it with mulch or topsoil.
Take control of your yard!
If you’re renting a property, you won’t be able to remove trees without express permission from your landlord. When you buy a property, it’s yours! The freedom for personalization is a great benefit to being an owner.
See which mortgage options you qualify for with our quick questionnaire!